
| Email John |
| Last update
12/09/2010
|
The Purple Pounder

This is my version of the ubiquitous Spud Potato.
I decided to take an engineering approach to design this shooter. Among the uncontrolled variables with the usual suspects are:
- Uncontrolled mixture. Hosing hair spray into the combustion chamber isn't exactly precise.
- Uncontrolled ignition. The Coleman lantern sparker isn't exactly repeatable, especially when wet.
- Uncontrolled spud fit. Cutting the spud to about the barrel diameter and then cramming it in isn't precise.
- Non-repeatable mixture from shot to shot. After the first shot the combustion chamber contains combustion products that impedes subsequent shots.
- Separate the combustion chamber from mixture control. Make an explosive mixture before it enters the combustion chamber.
- Optimum fuel. Hair spray (alcohol) isn't it.
- Optimize combustion chamber size.
- Optimize the ignition point. This assures most of the mixture is burned before it is discharged from the barrel.
- Reliable and repeatable ignition.
- Projectile diameter control.

 Click to Enlarge
- The carburetor is a modified standard Bernz-o-matic propane torch. The air holes are experimentally opened to make the most explosive mix.
- The sparkplug is located at the optimized location. I tried several other locations and selected this point as producing the most velocity. Unused holes were plugged with epoxy.
- Gas injection port. Located at the far end of the chamber. This combined with the vent port (below) means that the gas flows through the chamber, flushing out spent gases from the previous shot.
- Blow-apart fitting. The other joints are made up with PVC pipe cement. This one has no cement and is held in place by a few short sheet metal screws that just barely penetrate the pipe. This is designed to let the assembly blow apart before the pipe explodes.
 Click to Enlarge
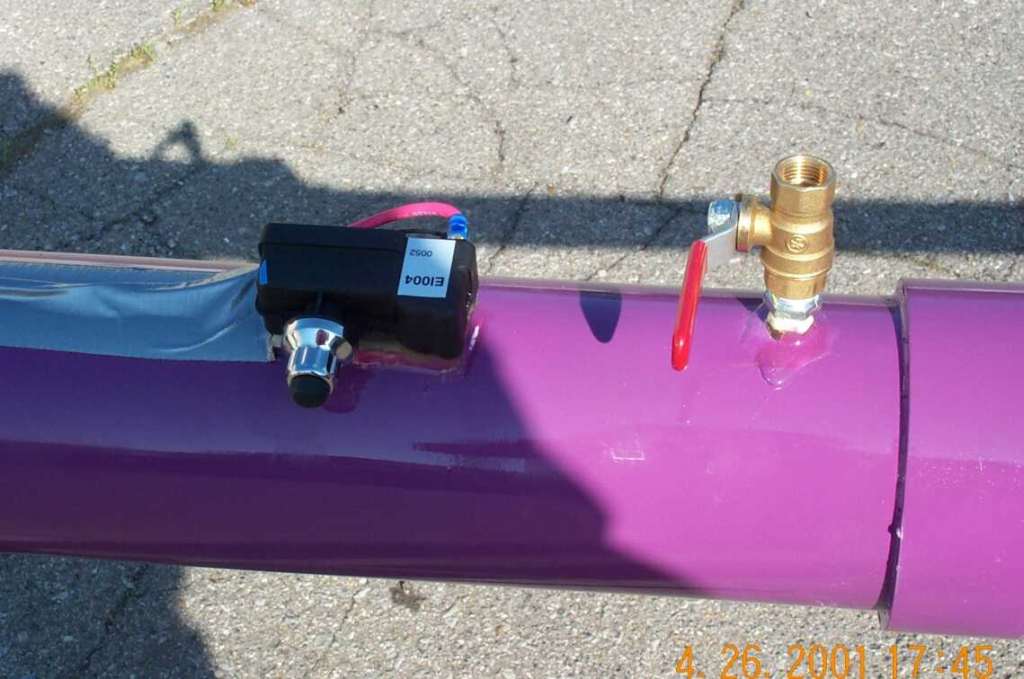 Click to Enlarge
 Click to Enlarge
Note the yellow cylinder of MAPP gas. I have found this to be the best of the commonly available fuels.
For that measurement we use a bullet chronograph. Such as the Oehler unit pictured here.
The chronograph measures a bullet's speed by timing its flight between two sensors located a known distance apart. In this case, optical sensors detect the bullet's shadow. There are three sensors or "screens" in this application because the chronograph makes two separate measurements and compares them as a quality control measure.


The best velocity I saw using an approximately 1/2 lb spud is right at 350 feet per second. This is in the low end of the range of velocity produced by spring type BB guns! Needless to say, very little spud remains after it hits something.
